Tutorials/Dispersion
From PixieWiki
Contents |
[edit] Outline
Pixie is capable of modelling the dispersion of light through refractive objects. To do this, you must use the photon hider to generate refracted caustics (which will exhibit dispersion). These are then used in a beauty pass.
There's basically two things you need to enable this:
1. Enable dispersion / spectral sampling:
Hider "photon" "emit" [1000000] "samplespectrum" [1]
2. Use the dielectric photon shading model. This model allows you to specify the index of refraction range (iorrange) for objects in the scene:
Attribute "photon" "shadingmodel" "dielectric"
Attribute "photon" "iorrange" [1.5 1.4]
3. Render the beauty pass, reading the photon map using the photonmap() shadeop.
[edit] Rendering a Photon Pass
You will need:
1. To use the photon hider with samplespectrum enabled, use:
Hider "photon" "emit" 3000000 "samplespectrum" 1
Pixie will sample the spectrum - picking a wavelength to sample, and the color associated with the wavelength. This is filtered by the desired color of the light, and any colored objects in the scene. Because the surfaces can respond differently (in terms of index of refraction) to the different wavelengths, dispersion can occur.
2. You will need at least one light source - photons are emitted from lights
3. A causticmap attached to objects your scene, use something like:
Attribute "photon" "causticmap" "caustic.cpm"
This is where the photons are stored. As they scatter, refract and disperse, the photons eventually hit an object which recieves them (has the "matte" shading model). This attribute needs to be attached to anything you wish to recieve caustics.
4. You will need an object with the "matte" photon shading model, most others models just refract or reflect the photons.
5. You will need to set the photon model to the dispersion-supporting dielectric model, for objects you wish to disperse light
Attribute "photon" "shadingmodel" "dielectric"		# glass parts scatter them
Attribute "photon" "float[2] iorrange" [1.4 1.2]	# Set ior(red)=1.4, ior(blue)=1.2
This describes the index of refraction each end of the spectrum gets, controlling how much it is 'bent', and thus causing the dispersion of different wavelength light to occur.
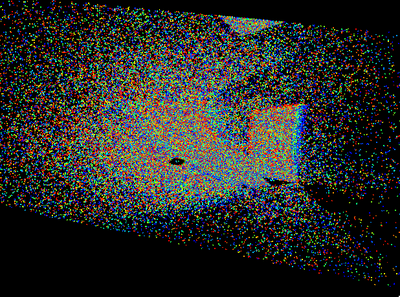
You can check the results using the show program. The photon map will appear to contain many more colors on close inspection than one rendered without samplespectrum turned on.
[edit] Rendering the Beauty pass
The idea is to take the precomputed caustics and render them. The photonmap() shadeop is the way to do this. It can be called from any shader type. Here we use it in a lightsource, to allow it to be easily combined with any scene
light causticlight()
{
	normal Ns = faceforward (normalize(N),I);

	illuminate (P + Ns) {  /* force execution independent of light location */
		Cl = filter * photonmap("caustic.cpm", Ps, Ns, "estimator", 100);
	}
}
This could be parameterized to work with any photon map.
This is the only thing you have to do, though probably you will want to set some raytracing attributes, and assign some smarter shaders than in the photon pass (which igores all surface shaders).
[edit] Example
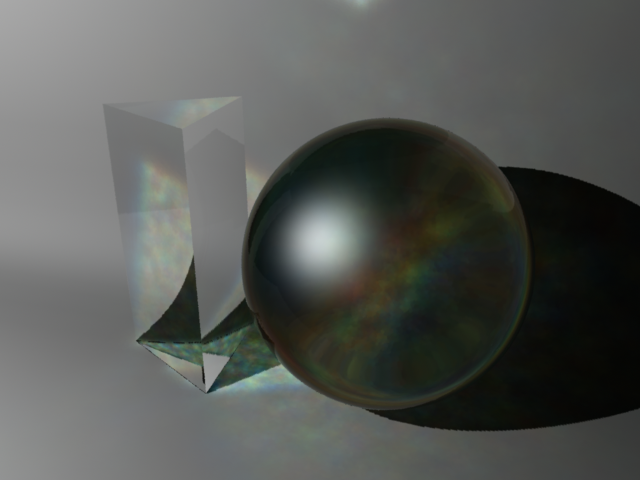
This image uses the two passes described above, though they could of course be described in one RIB file.
You can get the example here
Thanks to Mario F for the idea.


